
Troubleshoot the HP Printer Alignment Failed Problem
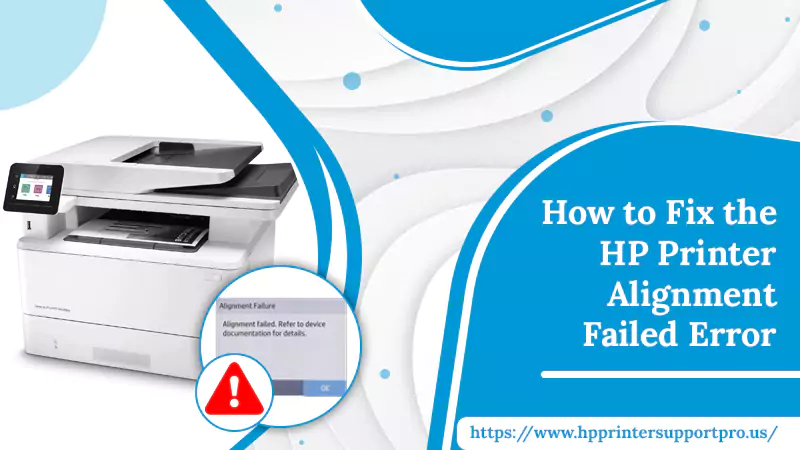
All HP users commonly face a troubling issue. They do the printer setup process and are ready to print when they see the HP printer alignment failed error. This error message indicates that the cartridges aren’t properly aligned in your printer. So, to fix this problem, you should first replace your cartridges with genuine HP cartridges. This error message tends to confuse many HP printer users. Therefore, in this article, you’ll find in-depth information about this error code. Then, you will also discover the various ways you can fix it.
What HP Printer Alignment Failed Means and Why It Occurs
This error message implies that your HP printer isn’t able to get ink from its cartridges. The problem feels confusing to most individuals because it can occur due to various reasons. This issue is most common in HP Inkjet and Laser printers. The causes for it are as follows.
- There is no printing software.
- The hardware is malfunctioning.
- You have printed multiple pages with your printer.
- The cartridges are incorrectly installed.
- Damaged or faulty cartridges can also cause this issue.
- There is some physical damage to your machine.
Also Read : HP Color Laser Printer
How Do I Fix the Alignment on My HP Printer?
There are various easy ways to rectify the HP printer alignment. Use these measures to improve the alignment.
Reset the Printing Device
If the issue is because of a minor cause, a hp printer reset will fix it. If you want to know default how to fix alignment on HP printer, do a reset. Here are the directions to follow.
- Turn on your HP device.
- Remove the end of the power cable at the printer’s backside.
- Now, look at the power source and take away the other end of the power cable.
- Do not touch the HP printer for 1 minute.
- Now, reconnect the power cable.
- The printer will turn on now and will not exhibit this issue.
Clean the Printhead
A dirty printhead also causes the HP printer alignment fail problem. You can manually clean the printhead through these steps.
- Gather a container, a paper towel, warm water, and a dry cloth.
- Dip the towel in the container filled with warm water.
- Now take out the cartridges by pushing the ‘Tab’ button present on your printing device.
- Let the cartridges remain on the towel in an inverted position for around 20 minutes.
- Open the printhead’s latch and remove it from the printer.
- Now soak the dry cloth in water.
- Squeeze off the excess ink on the sides of the printhead.
- Use a dry towel to rub the print head.
- Then put it on a dry surface.
- The printhead’s nozzle should face upward.
- When the printhead is dry, insert the cartridges as well as the printhead in their normal places.
- Now, press the ‘Tab’ button.
- Close the printer’s lid and restart it.
Also Read : clean hp printer head
Check the Alignment Page.
Reviewing the alignment page will enable you to determine the extent of the problem. If the content on the page is faded, you know that you are facing an HP printer alignment problem. Follow these points to fix it.
- Load the correct type of paper in the input tray of the printer.
- The printhead of your device should not be clogged.
- Your printer’s cartridges should have sufficient ink.
Use Original HP Ink Cartridges
Not using genuine HP ink cartridges can lead to various problems with your printing machine. If you frequently use a third-party cartridge, it is possible to encounter HP alignment failure. So, it is best to replace the third-party cartridge with a genuine HP cartridge. Here’s the sequence to replace the cartridge.
- Turn on your printer.
- Now, access the cartridges by lifting the lid.
- Let the carriage shift to the middle position.
- Push down the cartridge to replace it.
- Now, pull out the cartridge from its place.
- Take away the packaging of the new cartridge.
- Push it into its slot.
- When you push it properly, you will hear a snap sound.
- Shut the cover of the HP device.
- Now, you will not encounter the HP printer alignment failed error after using the genuine HP cartridge.
Employ the Correct Type of Paper
The paper type also plays a role in how you are able to use your printer. If you desire to know how to fix HP printer alignment, ensure that you employ the correct paper type.
- Take away the existing paper in the input tray.
- Now, review the paper you have. It must be A4, clean and unused.
- Do not put any colored paper or photos. Instead, insert plain white paper.
- Choose the right arrow and hit ‘Setup’ in your printer’s control panel.
- Tap on ‘Tools.’
- Now, tap ‘Align the printer.’
- You will see a test alignment page.
- Keep the paper on the front right and the top right part of the scanner glass.
- Shut the printhead.
- Click ‘OK.’
- After employing these steps, you will not complain that your HP printer alignment keeps failing.
Wrapping up
Every HP user wants to leverage the great printing and scanning abilities of its printers. But the HP printer alignment failed problem renders printing documents impossible. Now you know of the various ways to resolve this error. Use them to eliminate this issue speedily and easily. If you need more assistance, connect with an email technical support service.