
How To Resolve HP Printer Not Printing Problem?


HP printers are well-functioning devices through which people can print various documents with much ease. However, some users also find certain problems when they use it for a long time. One of the significant issues is the HP printer not printing correctly. They also find that the printers do not print black ink. When such an issue arises, it is natural to search for appropriate solutions. In this article, you’ll find how you can make your HP printer print efficiently again.
What are the Ways Resolve HP Printer Not Printing Problem?
There are quite many ways to fix this issue. Keep reading and then implement the various resolutions mentioned below.
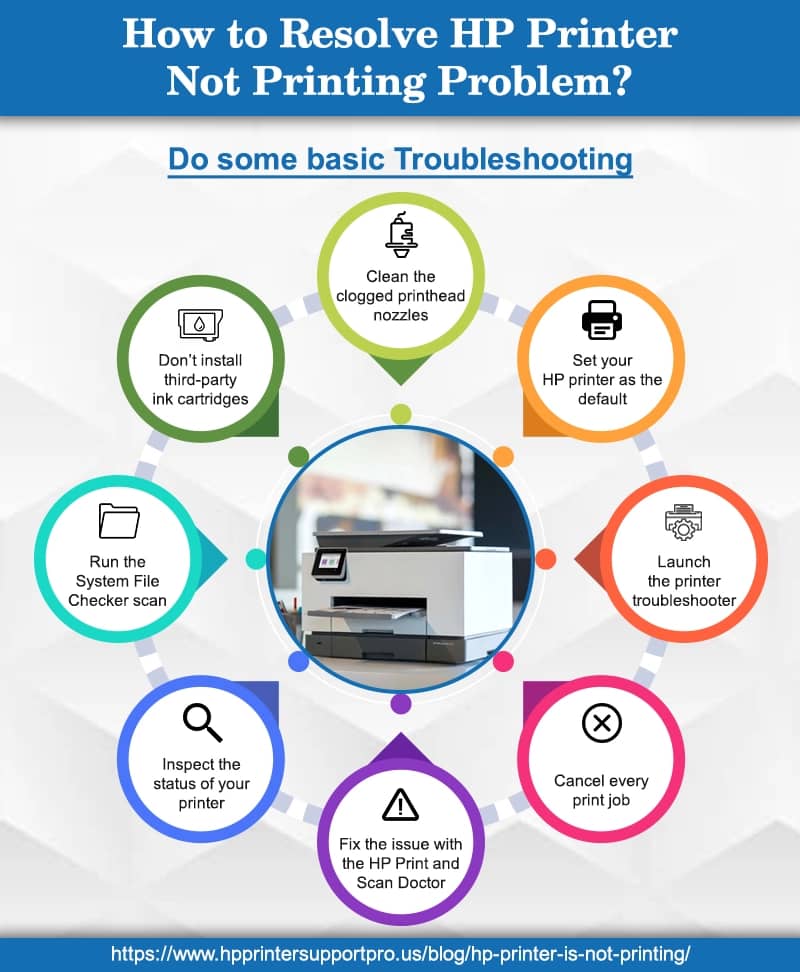
Do Some Basic Troubleshooting
You can conduct some basic troubleshooting on finding that your HP Printer is not printing as it should. You must inspect the connection status between your system and the printer. Ensure that all your devices are connected correctly with one another. Check that the cable or network you employ to link these devices is fine.
Besides, you can also restart your printer. First, switch it off and take away the power cord. Leave the printer as it is for some time. Then, plug the power cord back and turn on the printer. Now check if the printer is printing fine or not.
Clean the Clogged Printhead Nozzles
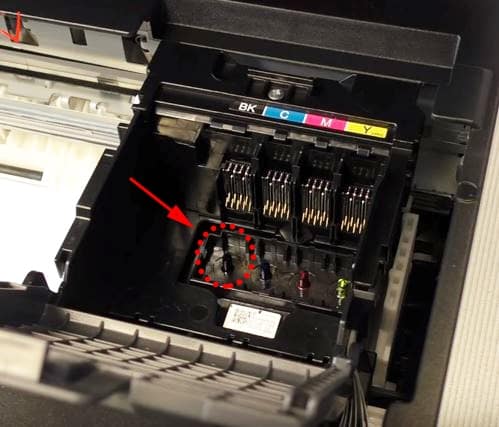
Users generally complain of their HP printer not printing problems. This issue happens because of clogged printhead nozzles. What you can do is clean the printhead a few times. You can choose the Deep Cleaning or the Clean Printhead option from the menu of ‘Printer maintenance’ on the ‘Control Panel’ of your HP printer. To know the details of cleaning the printhead, go through the printer’s manual.
Set your HP Printer as the Default
 If you are attempting to print a page, your system will assign this task to the default printer automatically unless you select another one. If you haven’t set your HP printer as default, then it may not print the document. To select the printer as default, follow these steps.
- Press the R key and the Window logo key on the keyboard simultaneously to launch the ‘Run’ dialogue.
- Input ‘Control’ and tap Enter. It will launch the Control Panel.
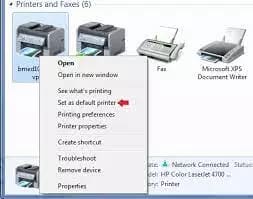
- Choose ‘Devices and Printers.’
- In the section of ‘Printers’, right-tap on your HP printer and choose ‘Set as default printer.’ If prompted, tap ‘Yes.’
- You will see a tick under your HP printer’s icon. It means that the printer is set as default.
Launch The Printer Troubleshooter

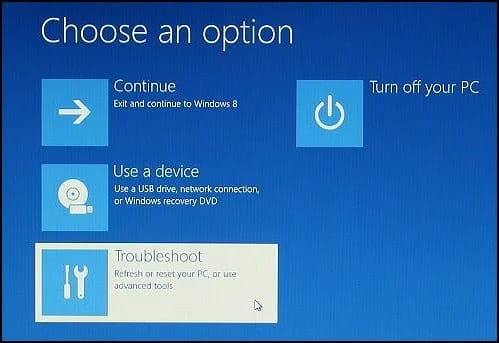
When Windows 10 users find the printer not printing well, they can open the printer troubleshooter. Then adhere to the following instructions.
- Select ‘Printers & scanners.’
- Choose ‘Troubleshoot your printer.’ Tap ‘Run the troubleshooter.’
- Choose your specific printer model given in the window of the troubleshooter.
- Press the button ‘Next’ so that your problem resolves with the troubleshooter.
This method will also work great for those who are complaining about their printers not printing black ink.
Cancel Every Print Job

If your printer has stuck print queue, you might complain about why is my printer not printing black. When the print queue contains failed print jobs, it can stop the optimal functioning of the printer. You should clear every print job so that your printer starts functioning.
- Launch ‘Devices and Printers.’
- In the ‘Printers’ section, right-tap your HP printer and choose ‘See what’s printing.’
- Now, launch the ‘Printer’ menu and choose ‘Open As Administrator.’
- Now launch the ’Printer’ menu once more.
- Choose ‘Cancel All Documents.’
- ‘Confirm’ your action. Check and see whether the printer is functioning properly or not.
Fix the Issue with the HP Print and Scan Doctor

By using the HP Print and Scan Doctor, you can easily resolve the HP printer not printing black issue. Download its setup wizard and then do the following:
- Tap ‘HPPS.dr.exe’ for installing the HP Print and Scan Doctor.
- Choose ‘Start’ for choosing your HP printer model. After that, press ‘Next.’
- Choose the option of ‘Fix Printing.’
- You will notice that the software is displaying wrench icons. It indicates that it fixed something. When this happens, close the HP Print and Scan doctor.
- Try to print again.
- Alternatively, you can also notice an ‘X’ icon. When this happens, continue with this troubleshooter and follow the guidelines that it gives for resolving the issue.
Inspect the Status of your Printer

If you have checked out every single method mentioned above, but are still wondering why is my printer not printing properly, then this method may help you. You should inspect if there is any hardware problem with your printing device.
Make sure that your printer has adequate ink and paper. It should not get stuck on paper jam. Inspect your printer cartridge’s status and substitute it with another one if it’s not suitable. In some instances, the HP printer stops functioning you replace some of its parts. If this is the case, then you must install the original parts back and check whether the issue is resolved.
Run the System File Checker Scan

System File Checker or SFC is a helpful functionality in Windows. It can easily scan the various system files and then repair the corrupted or missing ones. This scan can also resolve the problem of the HP printer not printing black. To run this scan, follow the instructions below.
- Hit the Windows logo key on your keyboard. Then input cmd.
- Now right-tap on the ‘Command Prompt.’
- Next, tap ‘Rus as administrator.’
- Tap ‘Yes’ when you are prompted to confirm. Now, on the window of Command Prompt, input sfc/scannow. Next, press ‘Enter.’ It will take a few moments for the System File Checker to replace the outdated or corrupted system files with fresh ones if it identifies any. You need to be patient at this point.
- After the System File Checker does its work, you need to restart your computer. It will allow the changes to come into effect.
- Now see your computer and inspect if the printer is working fine or not.
Don’t Install Third-Party Ink Cartridges
Always use genuine HP cartridges if you don’t want to find any problem with the HP printer’s working. Many people install third-party ink cartridges. But they don’t work well on HP printers. Replacing your third-party cartridge with the official HP cartridge can resolve the printer not printing black issue.
You can find genuine cartridges by going to the HP website. There, enter your printer model in the search box to find cartridges that are compatible.
Final Words
There are numerous things you can do to fix the HP printer not printing problem. Start by carrying out some basic troubleshooting. You can also clean the clogged printhead nozzles and see if the printer has started to print black pages or not. Setting your HP printer as default is a simple way by which this problem can be resolved. Additionally, Windows 10 users can also use the printer troubleshooter to fix any potential issue. Contact expert HP Printer support if this problem does not go away.


