
Can’t Remove Printer on Windows 10 [Solved]

 Printing issue fixes are one of the top searched items in Google. Sometimes, the only solution to fix the printing errors is to remove the printer from your Windows 10 PC or other operating systems. A few users have encountered trouble when they can’t remove printers from the device’s list, which resulted in semi-finished troubleshooting.
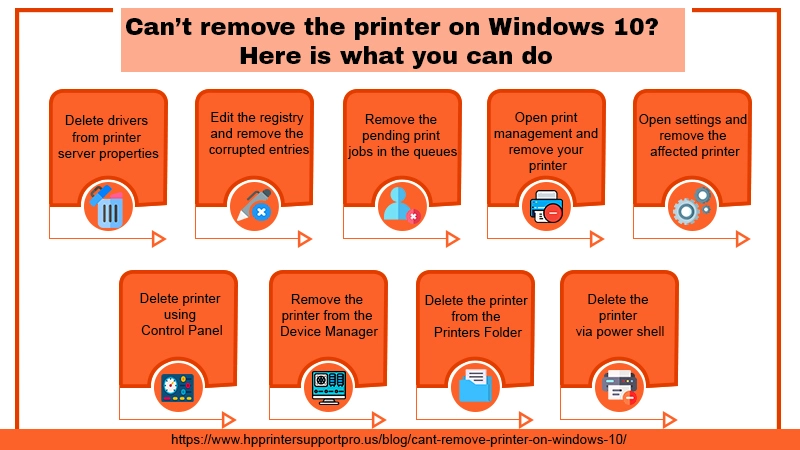
Many printer gurus suggest updating Windows to resolve the issue, but it doesn’t. The idea is not bad as it fixes many other issues but doesn’t go well when you face trouble removing the printer. After our thorough research, we prepared the list of the top 9 solutions to help you remove the printer from the list of devices.
Can’t remove the printer on Windows 10? Apply Simple Steps
If you are also a victim of printer problems or you are unable to remove the printer on your Windows 10 computer, then follow the steps or instructions described in the section. We have arranged all these instructions in a specific manner, so you must adhere to the same for better results.
Solution 1: Delete drivers from printer server properties
Deleting the previous version drivers from printer server properties brings better results—most users benefit by following these instructions. However, you must note that even after following this solution, you will need to use any of the further methods to remove the device. This solution is highly beneficial if your printer is hanged or stuck for a long time. Let’s begin with the troubleshooting.
- First and foremost, open the run dialogue box by using Windows+ R as shortcut keys.
- The blank field appears in front of you, type control, and hit enter.
- Now the control panel window will open, here click devices and printers.
- In the next window, select your printer that is facing trouble.
- Now click on print server properties located at the top of the window.
- Under the print server properties, screen click drivers
- You will need to remove the driver that belongs to your printer, highlight the driver, select remove and click remove driver and driver package.
- Once the process completes, click applies, click ok, and restart your computer.
- If your printer is still stuck, then follow method number two.
- However, if this method is successful, you will have to follow any solution beyond number 4 to remove the printer conventionally.
Solution 2: Edit the registry and remove the corrupted entries
Another reason that causes your printer not to be easily removed from your computer is corrected registry entries in the system. To eliminate the problem, you will need to change a few values in your registry. Editing the registries can cause issues in your PC, and hence you must have a backup of the registry in case any problem occurs.
- Open the run dialogue box, type Regedit and hit enter.
- The registry editor opens now navigate using the following path HKEY_LOCAL_MACHINE\SYSTEM\CurrentControlSet\Control\Print\Printers.
- Now expand the printer, locate your printer, right-click over it, and select delete from the drop-down list.
- Make sure not to delete any other key from the registry.
- After completing the process, restart your printer.
- Once your PC gets back to the live state, go to the devices and printers menu and delete your printer.
Solution 3: Remove the pending print jobs in the queues
If still, you can’t remove printer, most probably the pending print jobs are creating the problem. Many users got relieved by deleting the folders that are holding awaited print jobs. Follow the instructions given below to remove the print queues.
- Again open the run dialogue box by pressing Windows + R keys simultaneously.
- Now type this path in the run dialogue box field C:\Windows\System32\Spool\PRINTERS and hit enter. The best way out would be to copy this path, paste it in the run dialogue box field, and hit enter.
- In the UAC prompt, hit Yes to get the permission to edit the printer’s folder.
- If the printer’s folder is full of files, then remove everything to free up space.
- If the printer’s folder is empty, uninstall the printer and restart your computer.
Solution 4: Open print management and remove your printer
Many users got excellent results after removing the printer from the print management tool. Here are the steps to do it.
- Click the search box, type print management, and hit enter on the results.
- Now the print management window opens, go to custom filters and click all printers.
- You will have to right-click on the printer you want to remove, click delete from the drop-down list.
Solution 5: Open settings and remove the affected printer
It is one of the easiest ways to remove a printer from your Windows 10 computer. Here are the instructions.
- Right-click on the Windows icon and click run.
- Now type ms-settings:connectdevices and hit Enter.
- Now the settings menu opens, click connected devices, and select printers and scanners to expand the list.
- Right-click on the affected printer, click remove the device.
- On the confirmation from click yes and then close the settings
- Once the process completes, restart your computer to apply the changes.
Solution 6: Delete printer using Control Panel
Another way around is to delete the printer using the Control Panel interface if until now you can’t remove the printer Windows 10 computer. This is also most effective after using any of the initial three methods as described in this article. Use the following instructions to remove your printer.
- Open the Control Panel interface on your computer.
- Now navigate to the devices and printers
- Double-click over it to expand the drop-down menu.
- Now right-click on the affected printer and select remove device from the drop-down list.
- You might be asked for the administrator’s permission; click yes on the confirmation prompt.
- Now close the Control Panel and restart your system.
- Keep following the further solutions if still, your printer appears in the devices list.
Solution 7: Remove the printer from the Device Manager
In some cases, removing the printer from the device manager was ineffective as this solution briefly removed the printer from the list of devices. However, it’s worth giving a shot.
- Open the run dialogue box on your computer, type devmgmt.msc, and hit enter.
- The device manager window opens, click print queues to expand further options.
- Right-click on the affected printer and click uninstall from the drop-down list.
- Now close the device manager, disconnect the printer cable from your computer and restart your PC.
- After restarting your PC, open the device manager, and verify if the printer was successfully removed.
- If the printer does not appear in the list, that indicates you have successfully removed it.
- If it still appears, that means you can’t remove the printer, and you will need to head over to the next solutions to fix it.
Solution 8: Delete the printer from the Printers Folder
This is one of the most effective and fastest solutions to remove printers from your list of devices. Follow the below instructions to remove the device.
- Right-click on the Windows icon and click run.
- When the run dialogue box opens, type explorer shell :::{2227A280-3AEA-1069-A2DE-08002B30309D} and hit enter.
- Now the printer’s folder opens, right-click on the affected printer and click remove in the drop-down list.
- Click yes on the confirmation window.
- Now restart your computer to apply the changes.
- After restarting the PC, check if the problem resolves.
Solution 9: Delete the printer via power shell
This is one of the most effective methods for stubborn printers. It might require a bit of technicality, and novice users might find it a bit difficult. However, anybody can try the solution using the following instructions as we have explained them in a straightforward way.
- Firstly you will need to press windows + R keys to open the run
- Once it opens, type PowerShell, simultaneously press ctrl+shift+enter.
- The user account control prompt opens; click yes for administrator permission.
- After that, the elevated power shell window opens, and you will have to type this command – get-printer | Format-List Name and hit Enter.
- A list of all active printers appears on the screen.
- You will have to open the notepad and type the exact name of the printer model you want to remove, and press enter.
- Now again, in the same elevated power shell window, you will need to type the command – Remove-Printer -Name “Printer Name” and hit Enter.
- In the above command, the printer name means the exact name of your printer.
- After registering this command, you can close the power shell window.
- Now restart your system to apply the changes.
Read More- HP Printer Driver is Unavailable
Still can’t remove the printer from Windows 10 PC? Call printer support
Tried all nine solutions, but nothing worked out? Don’t worry; your printer needs immediate assistance. We have a team of qualified technicians and engineers to assist if you can’t remove printer from a Windows 10 PC. Our printer technicians had handled such nasty issues before and successfully removed the printers. You can contact us at the HP Printer Support number or write us an email describing the issues you are facing. We are here to help 24/7.


